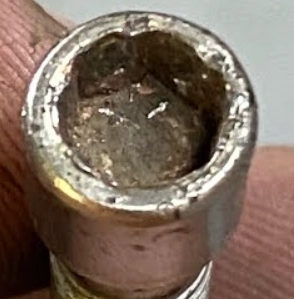
Make sure the Hex Bit is completely seated inside the screw and apply a small amount of force into the screw as you either tighten or loosen the screw.
Failure to do so may result in damaging the socket head cap inside walls, resulting in “rounding” the hole or “stripped”. This will cause the bit to not grab/bite correctly when inserted and will cause the screw to be very difficult to remove.
Caution must be used when screwing steel/stainless steel into aluminum. Aluminum is softer than these metals and will deform. If there is any resistance felt when screwing into aluminum, stop and back the screw out. Inspect the threads for any damage. Reposition the screw to be straight and try again. NEVER FORCE A SCREW INTO ALUMINUM.
40K Box Assembly
Parts Required
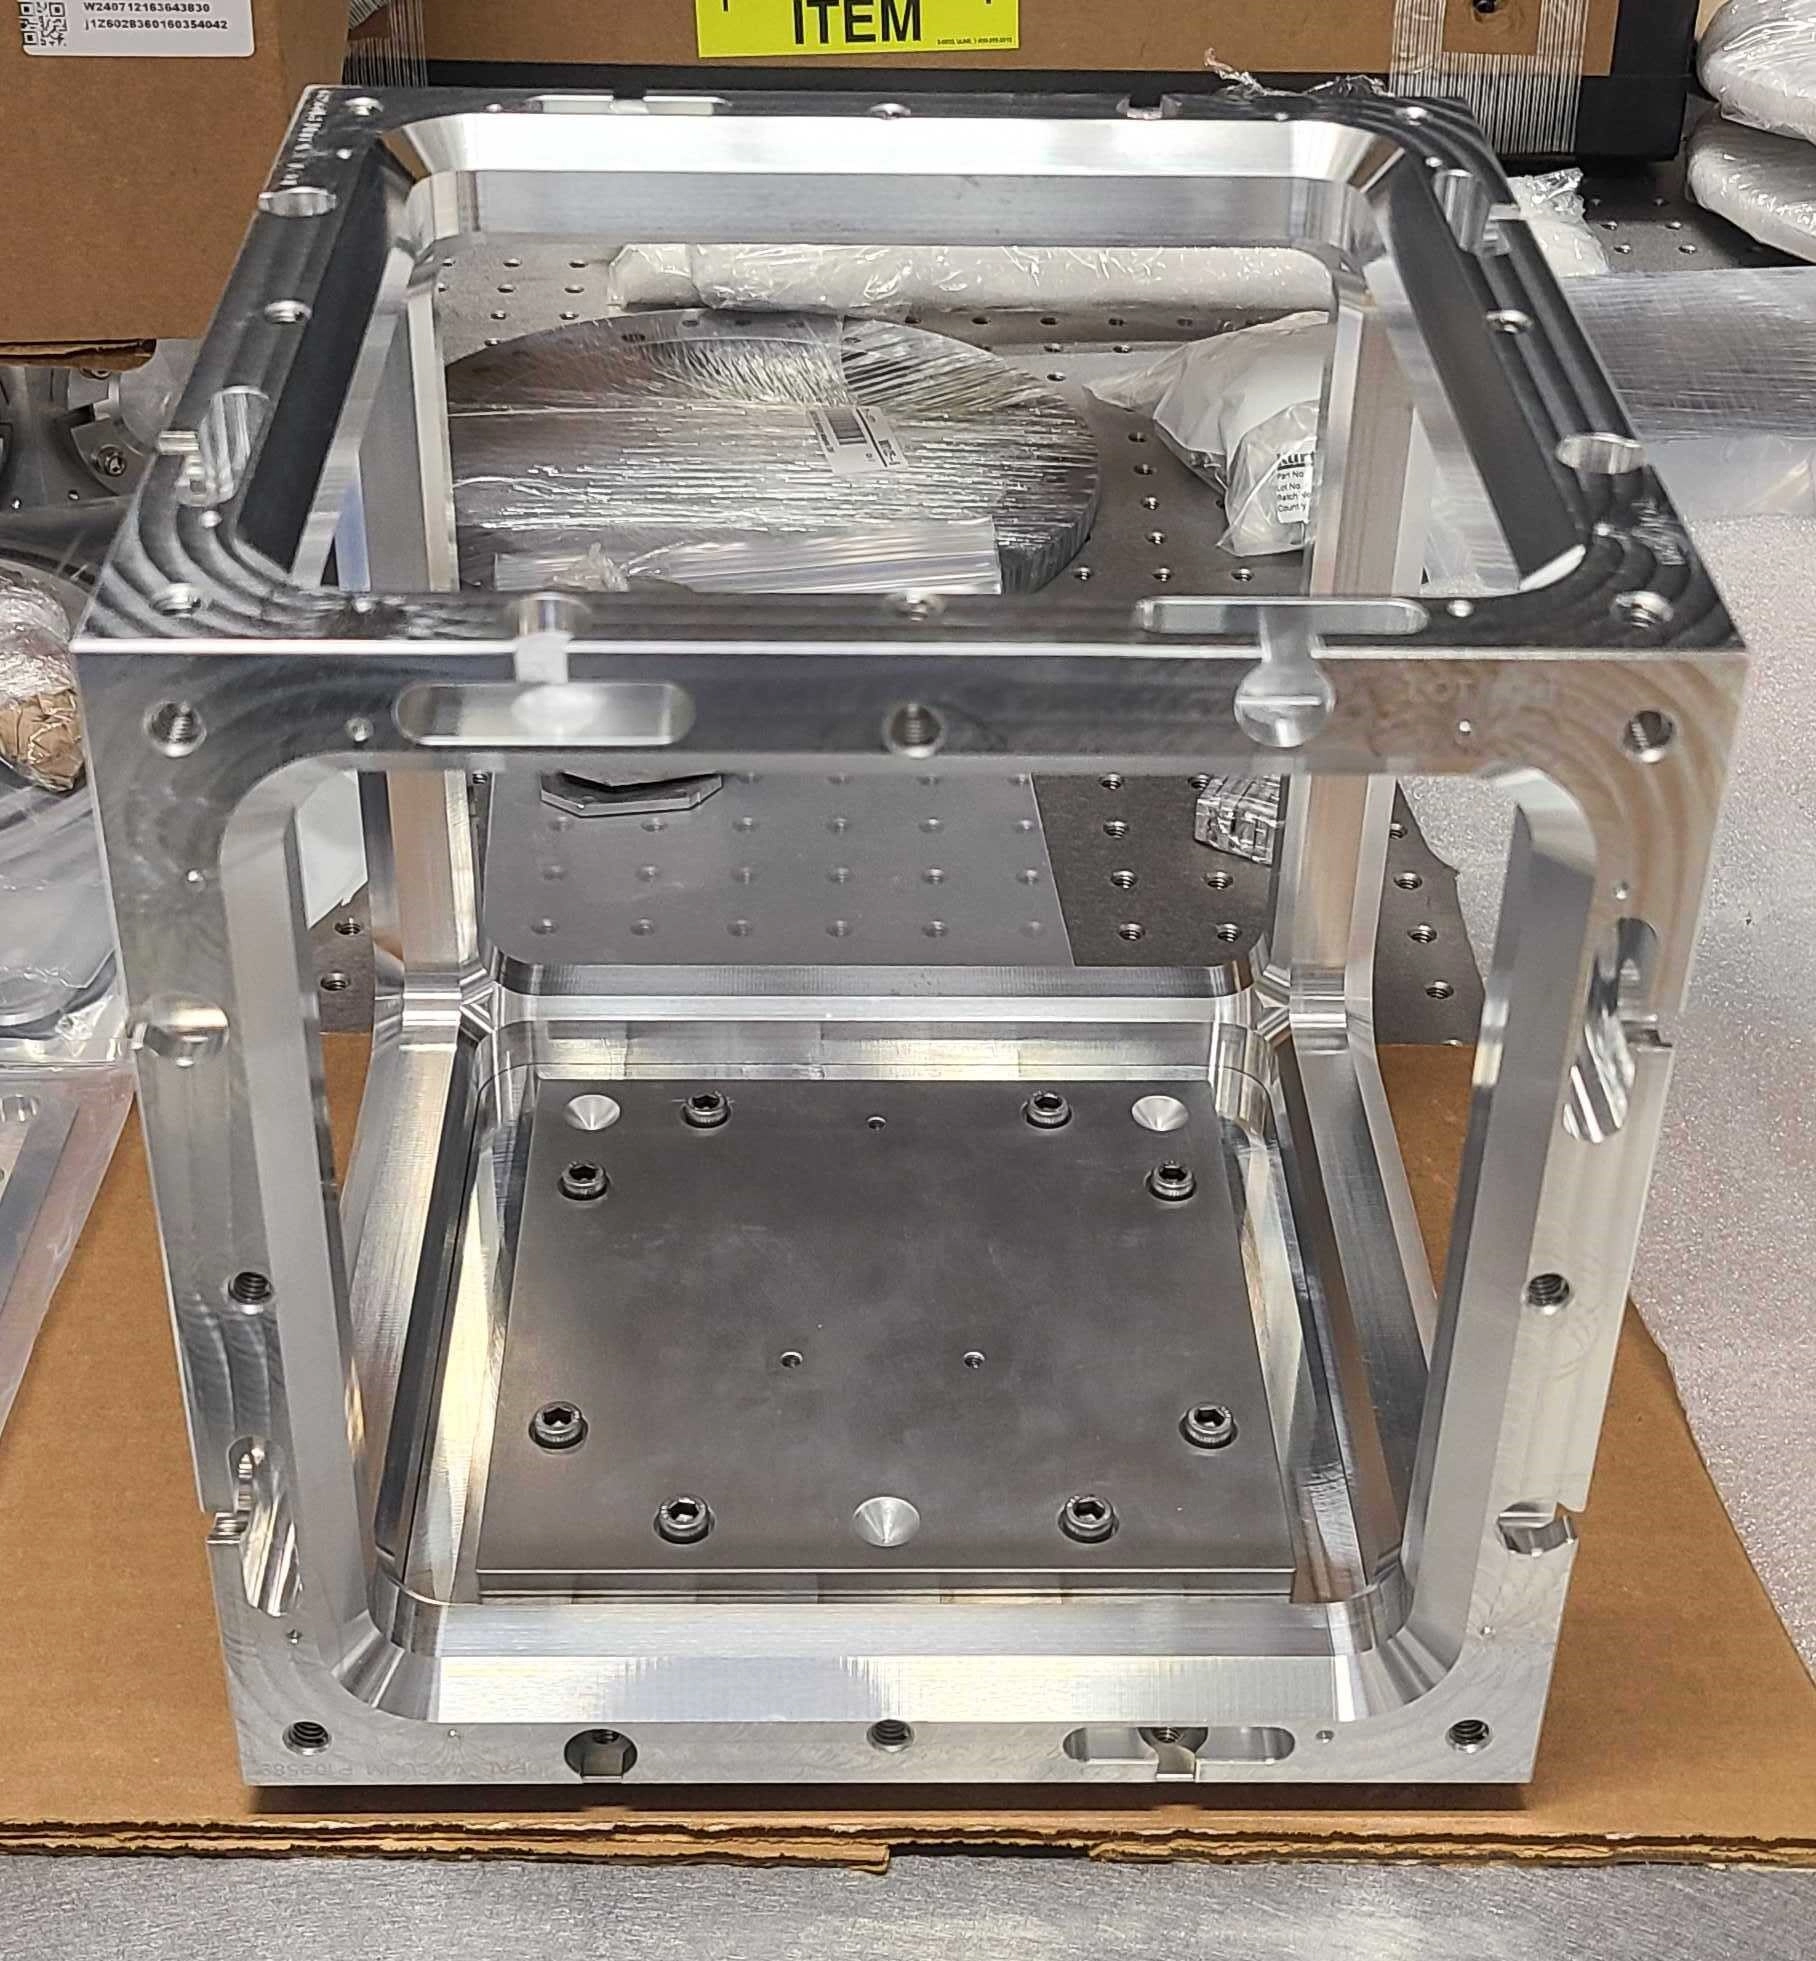
1 x Cube
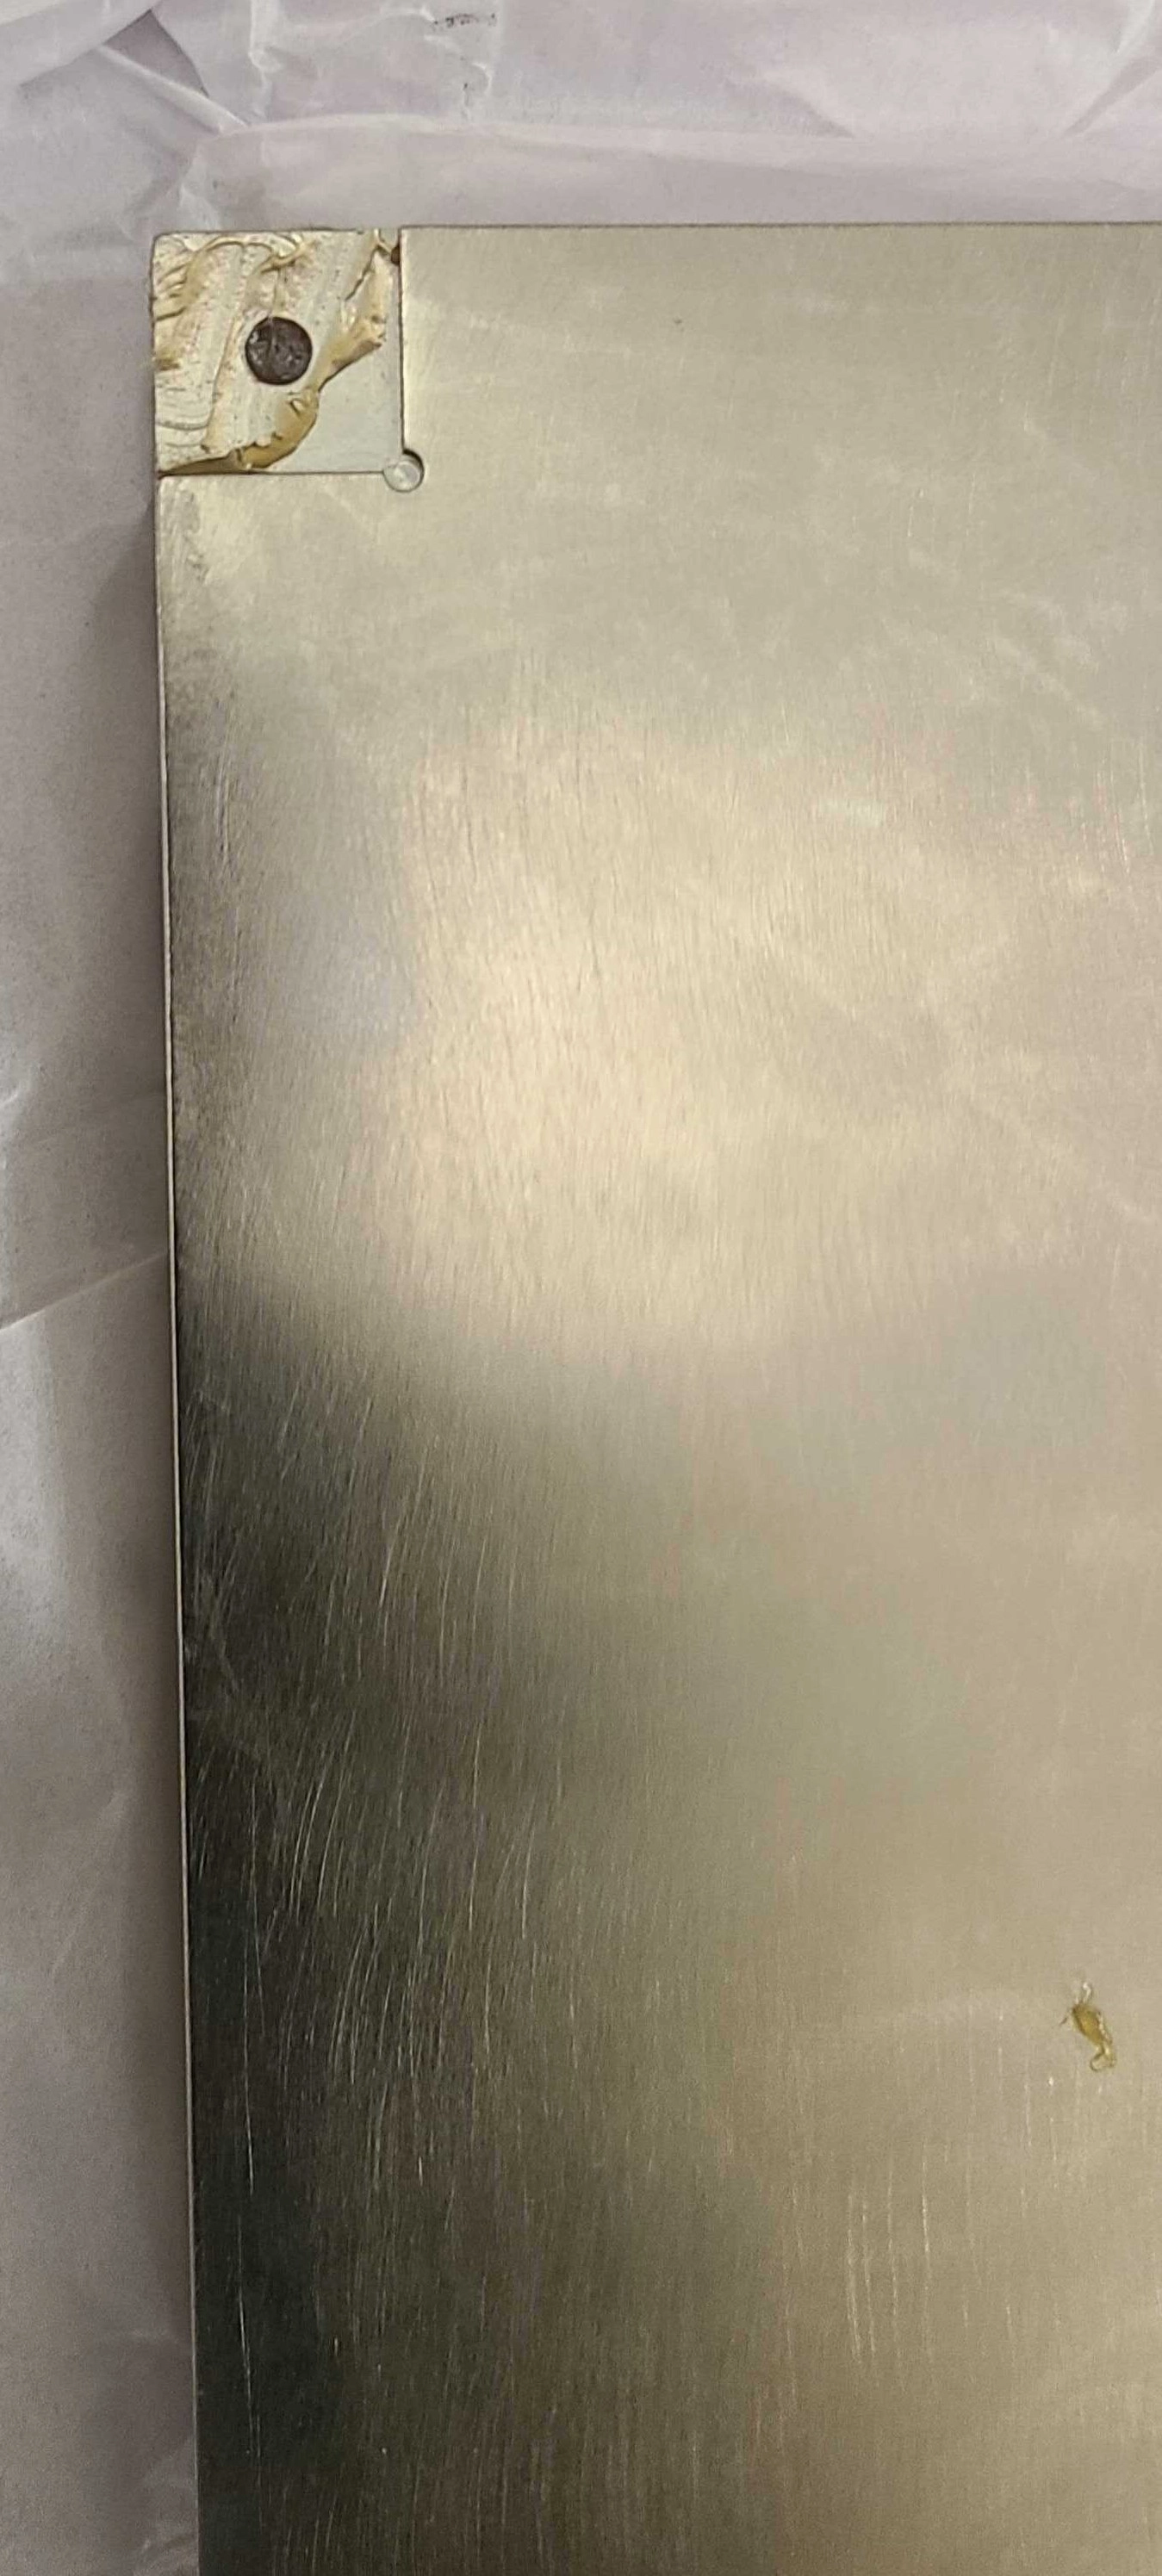
1 x blank wall
1 x wall O-ring
9 x 1/4-20 IdealVac screws
Bottom 40K plate
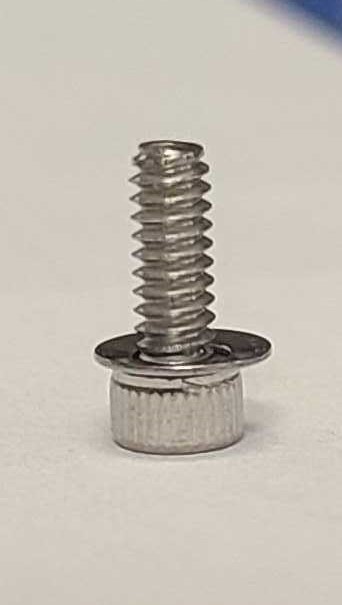
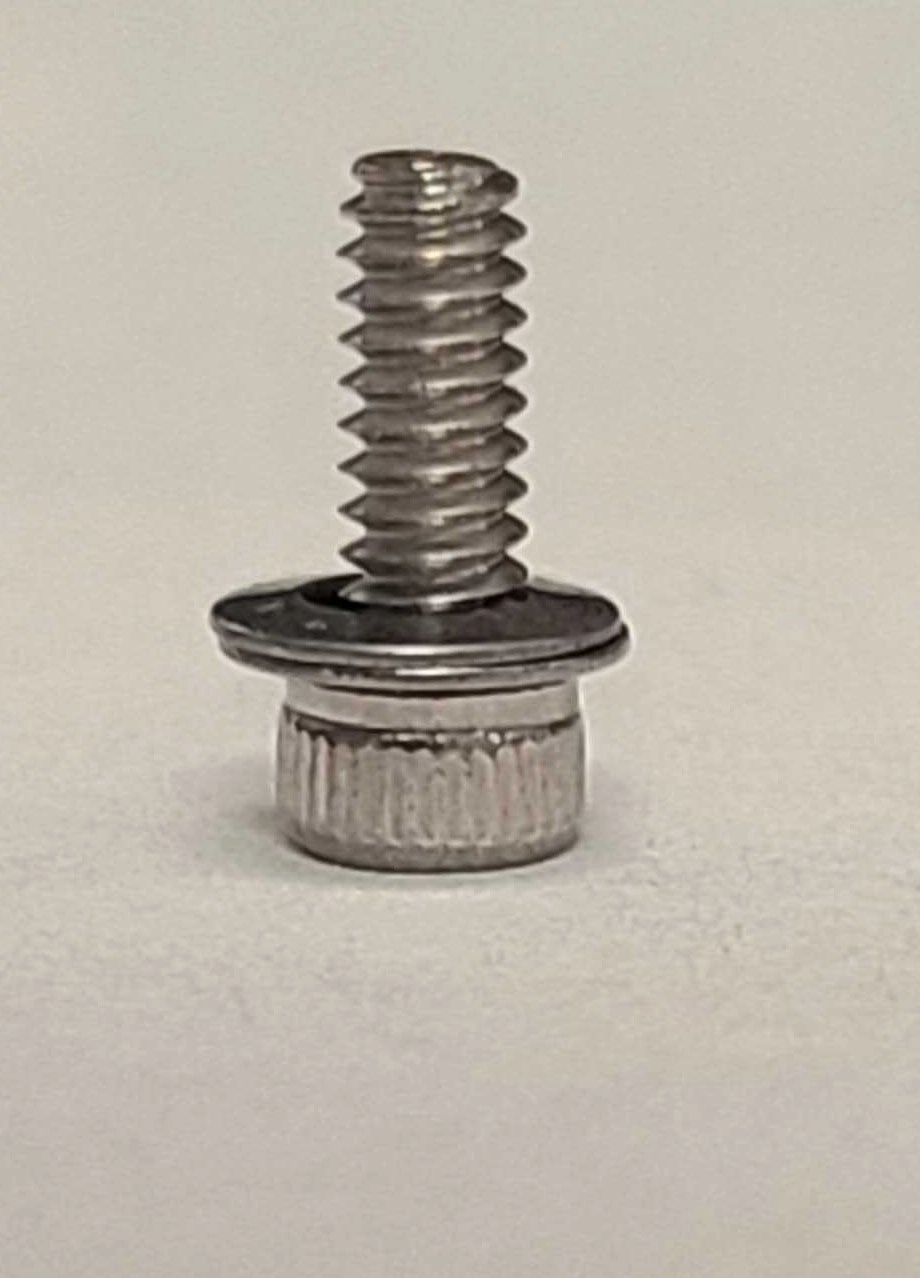
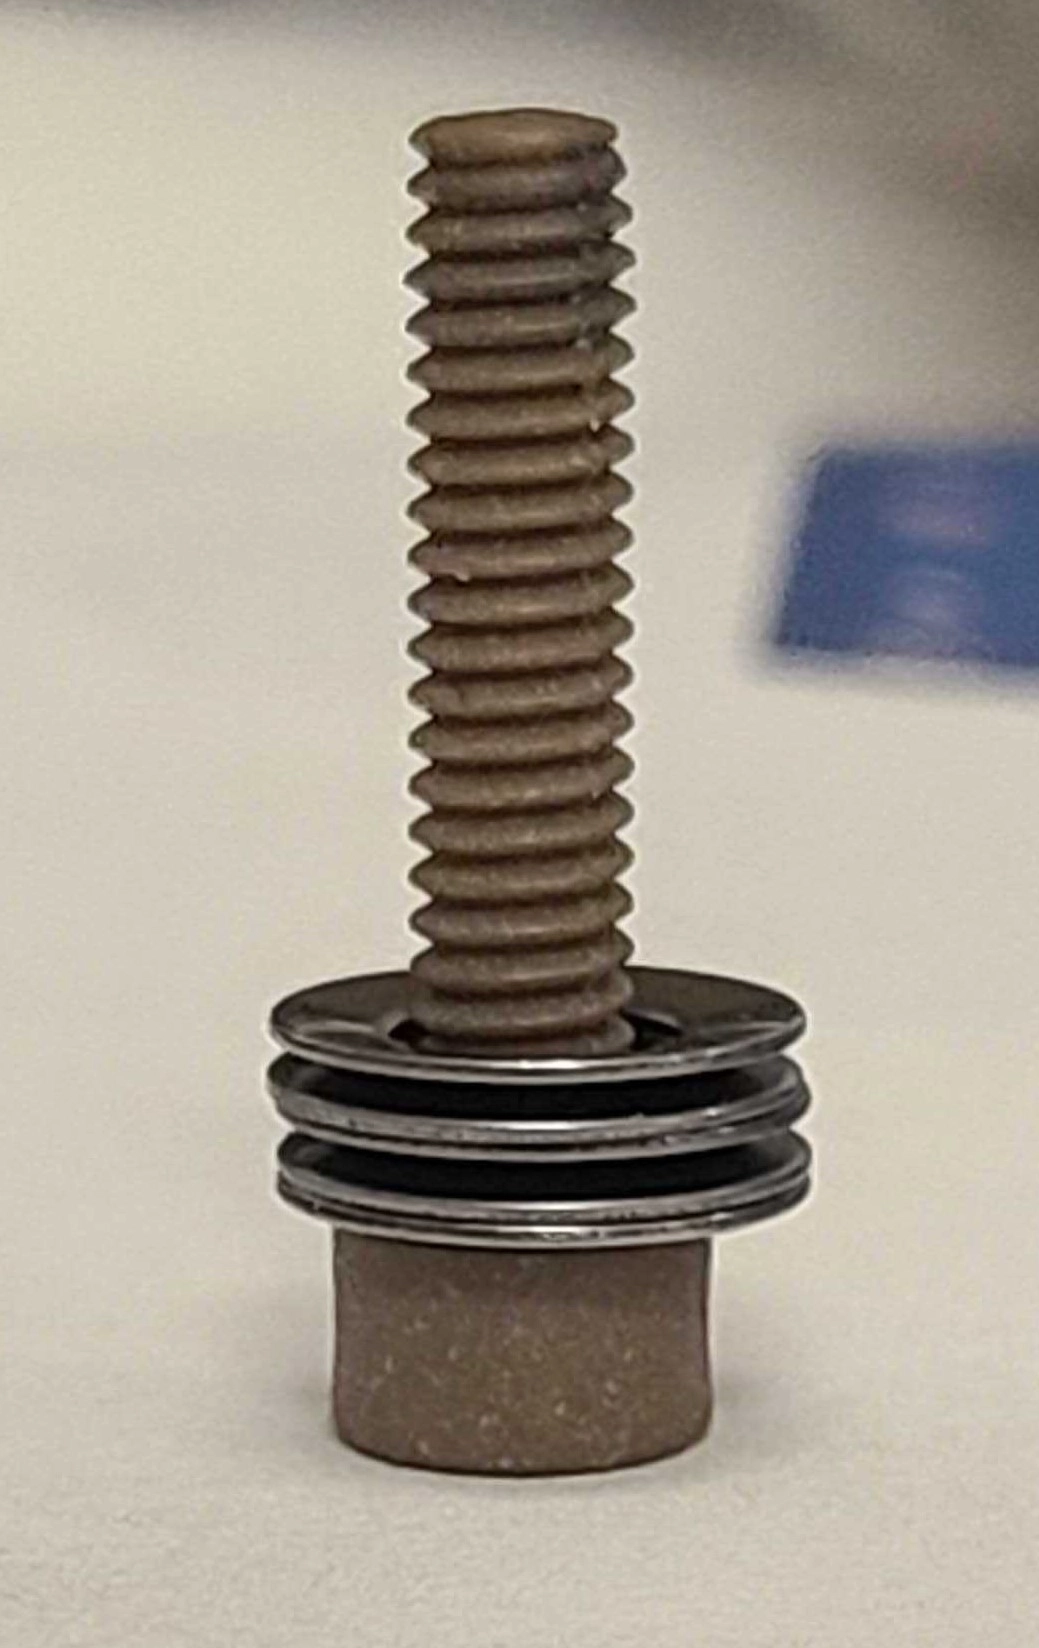
1 x PEEK 8-32 Screw
2 x Top 40K plate
4 x bar stock
8 x 4-40 5/16” long Stainless steel screws
8 x Belleville disc spring for 1/8” shaft, 0.125” ID, 0.25” OD, 0.0130” thick
6 x PEEK or nylon balls
4K Box or plate
1 x PEEK 8-32 Screw
5 x Belleville disc spring for 3/16” shaft
1 x IdealVac Adapter plate
8x 1/4-20 3/8” long Stainless steel screws
Building Instructions
Clean and and assemble 1x blank wall onto a cube following the IdealVac cube assembly directions
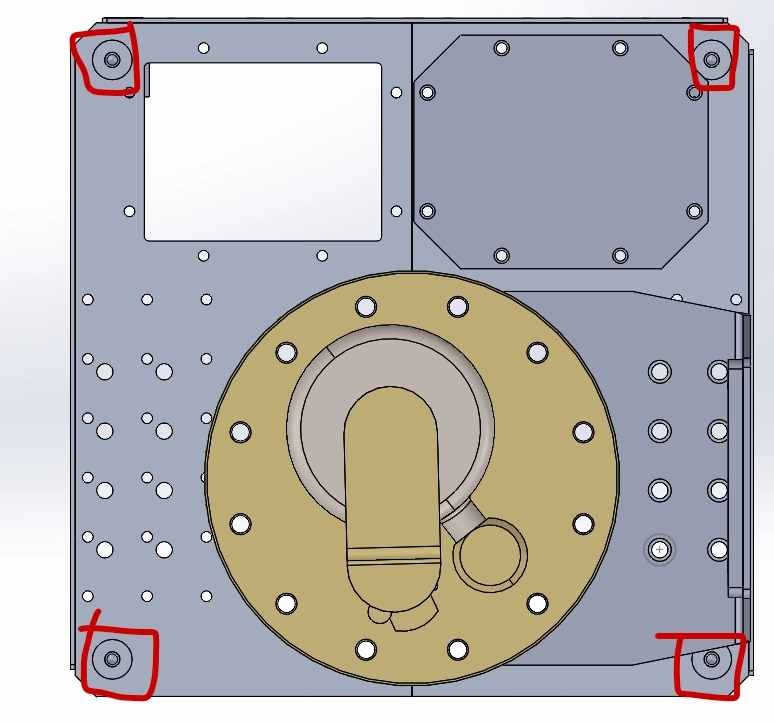
Clean and wipe down the IdealVac adapter plate
Place the plate onto the blank IdealVac wall and hand tighten with an allen key 8x 1/4-20 (3/8” length)
This is the base for the 40K box. Set this aside to be ready to mount the 40K box.
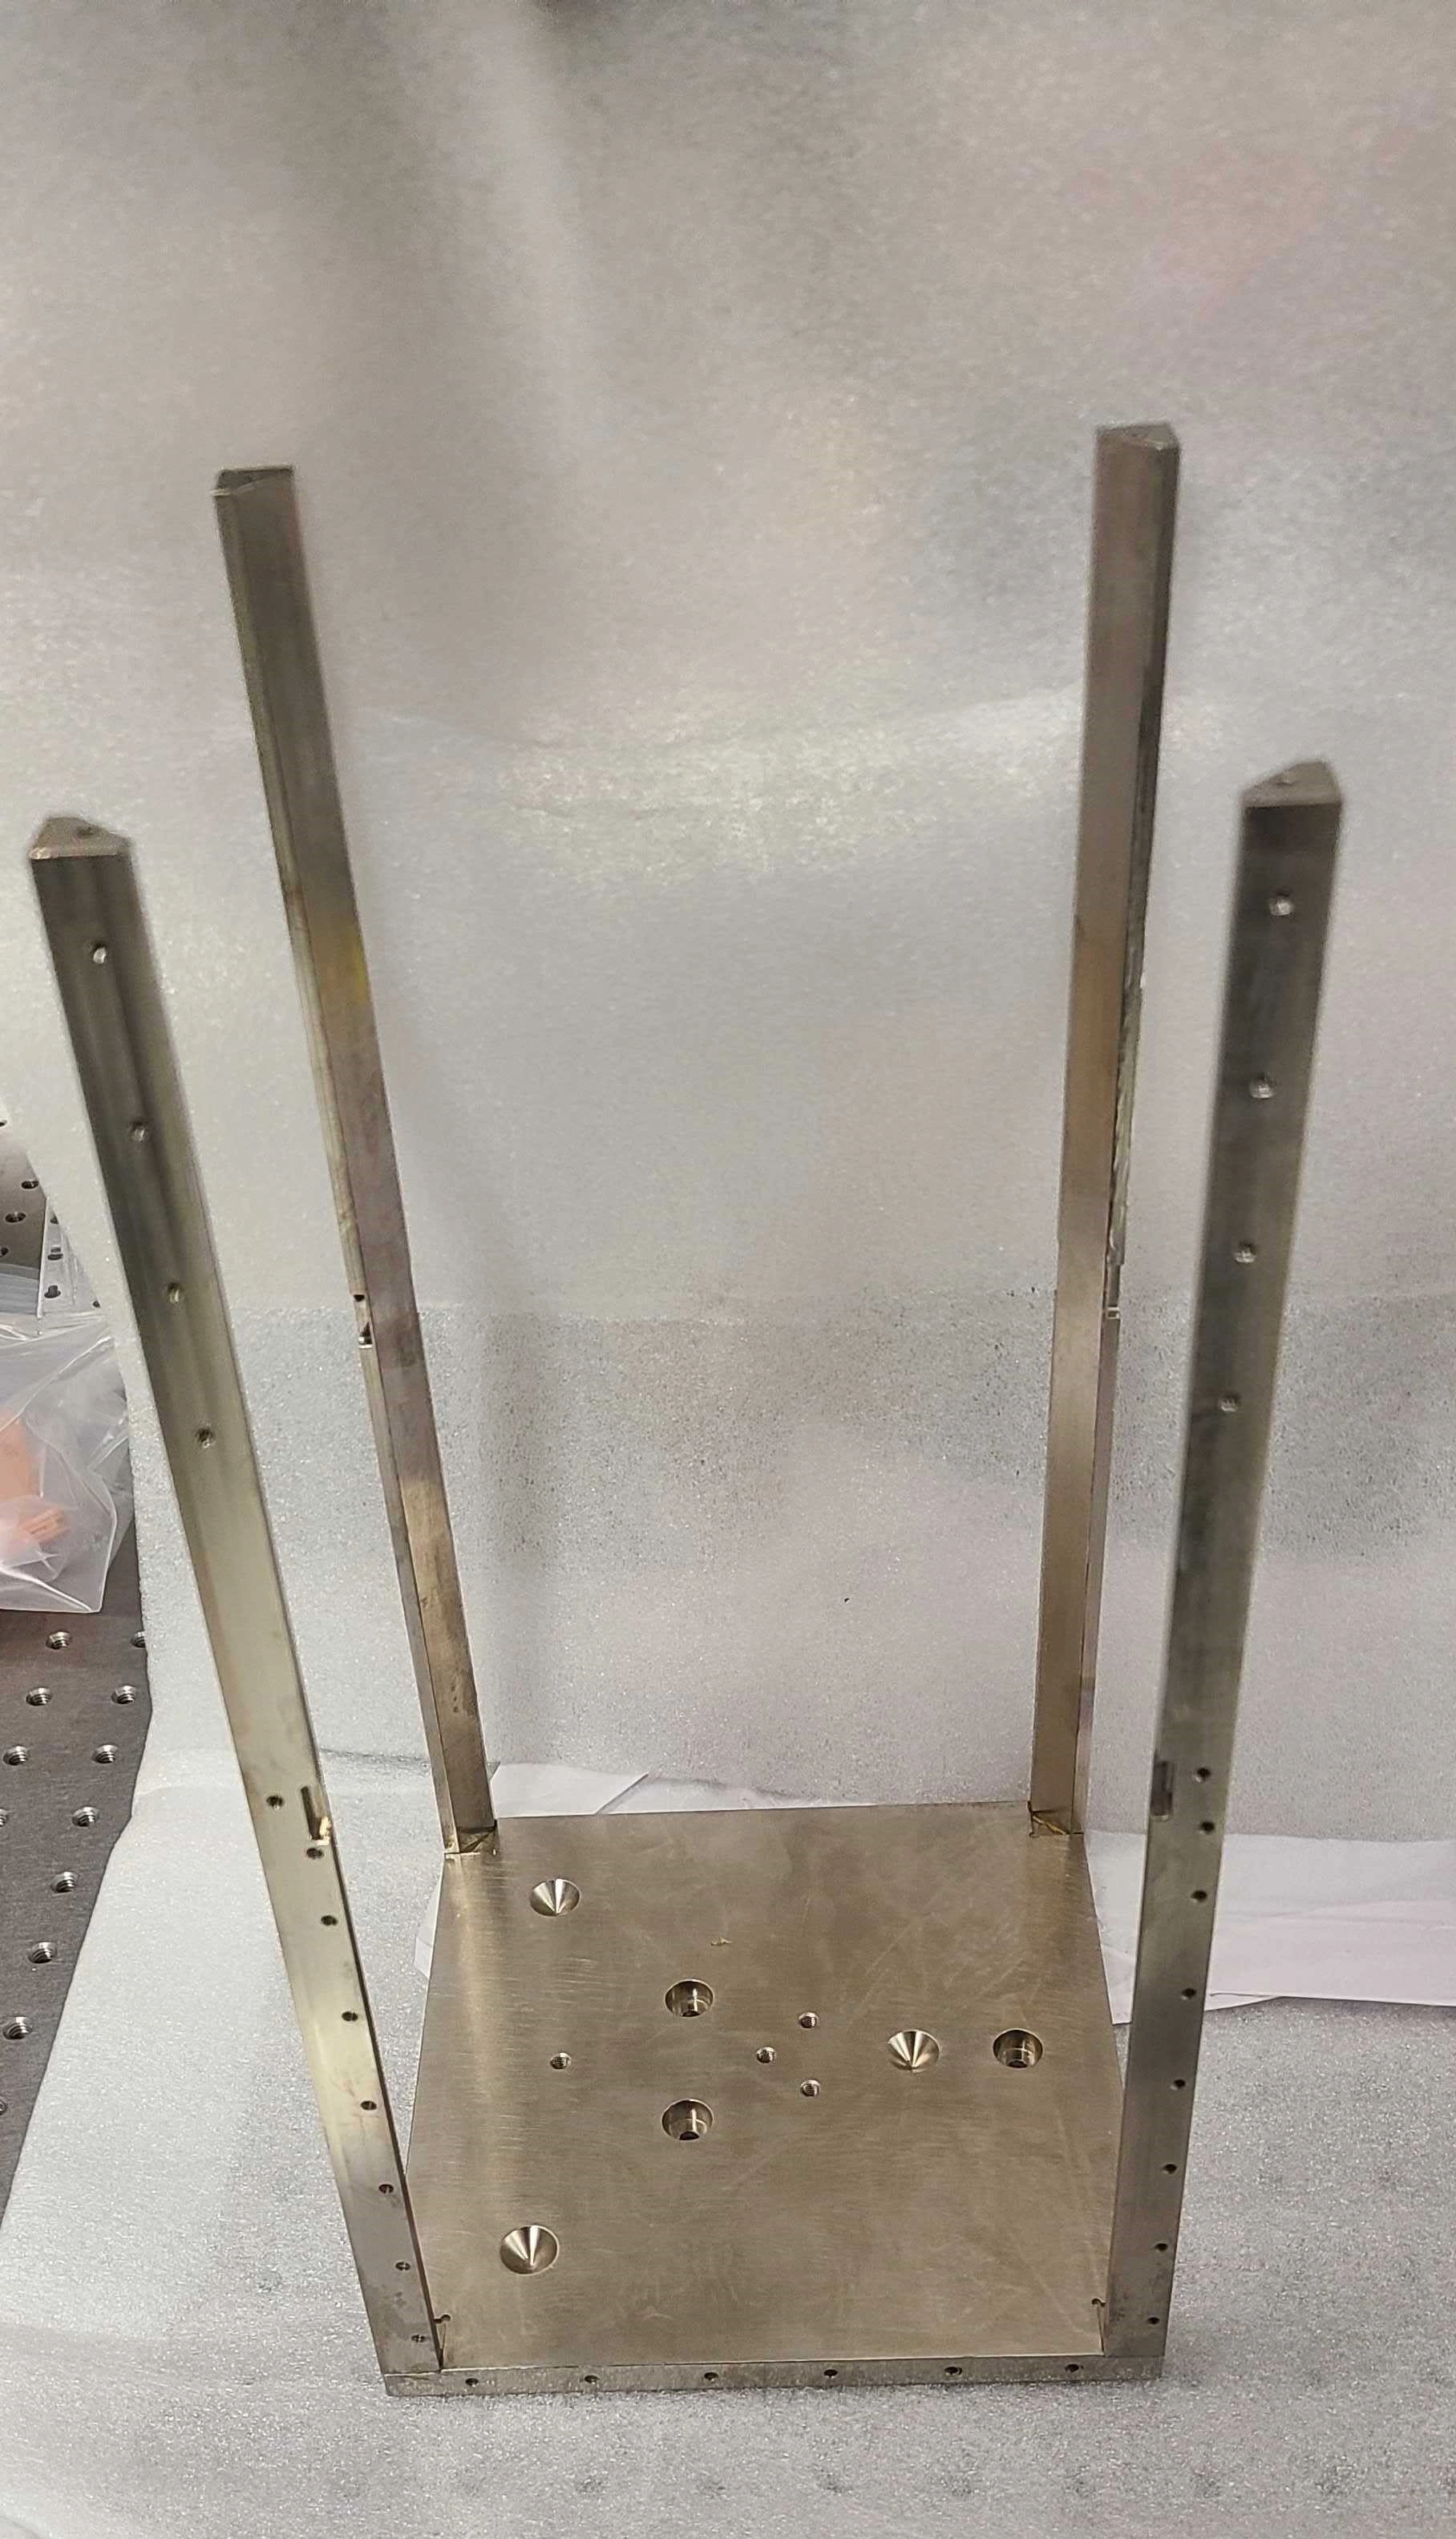
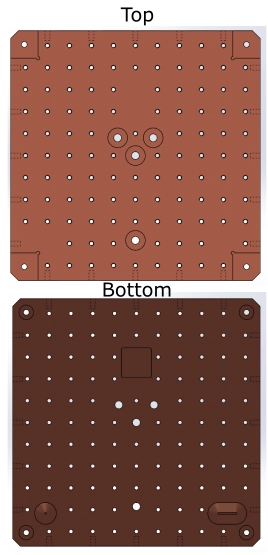
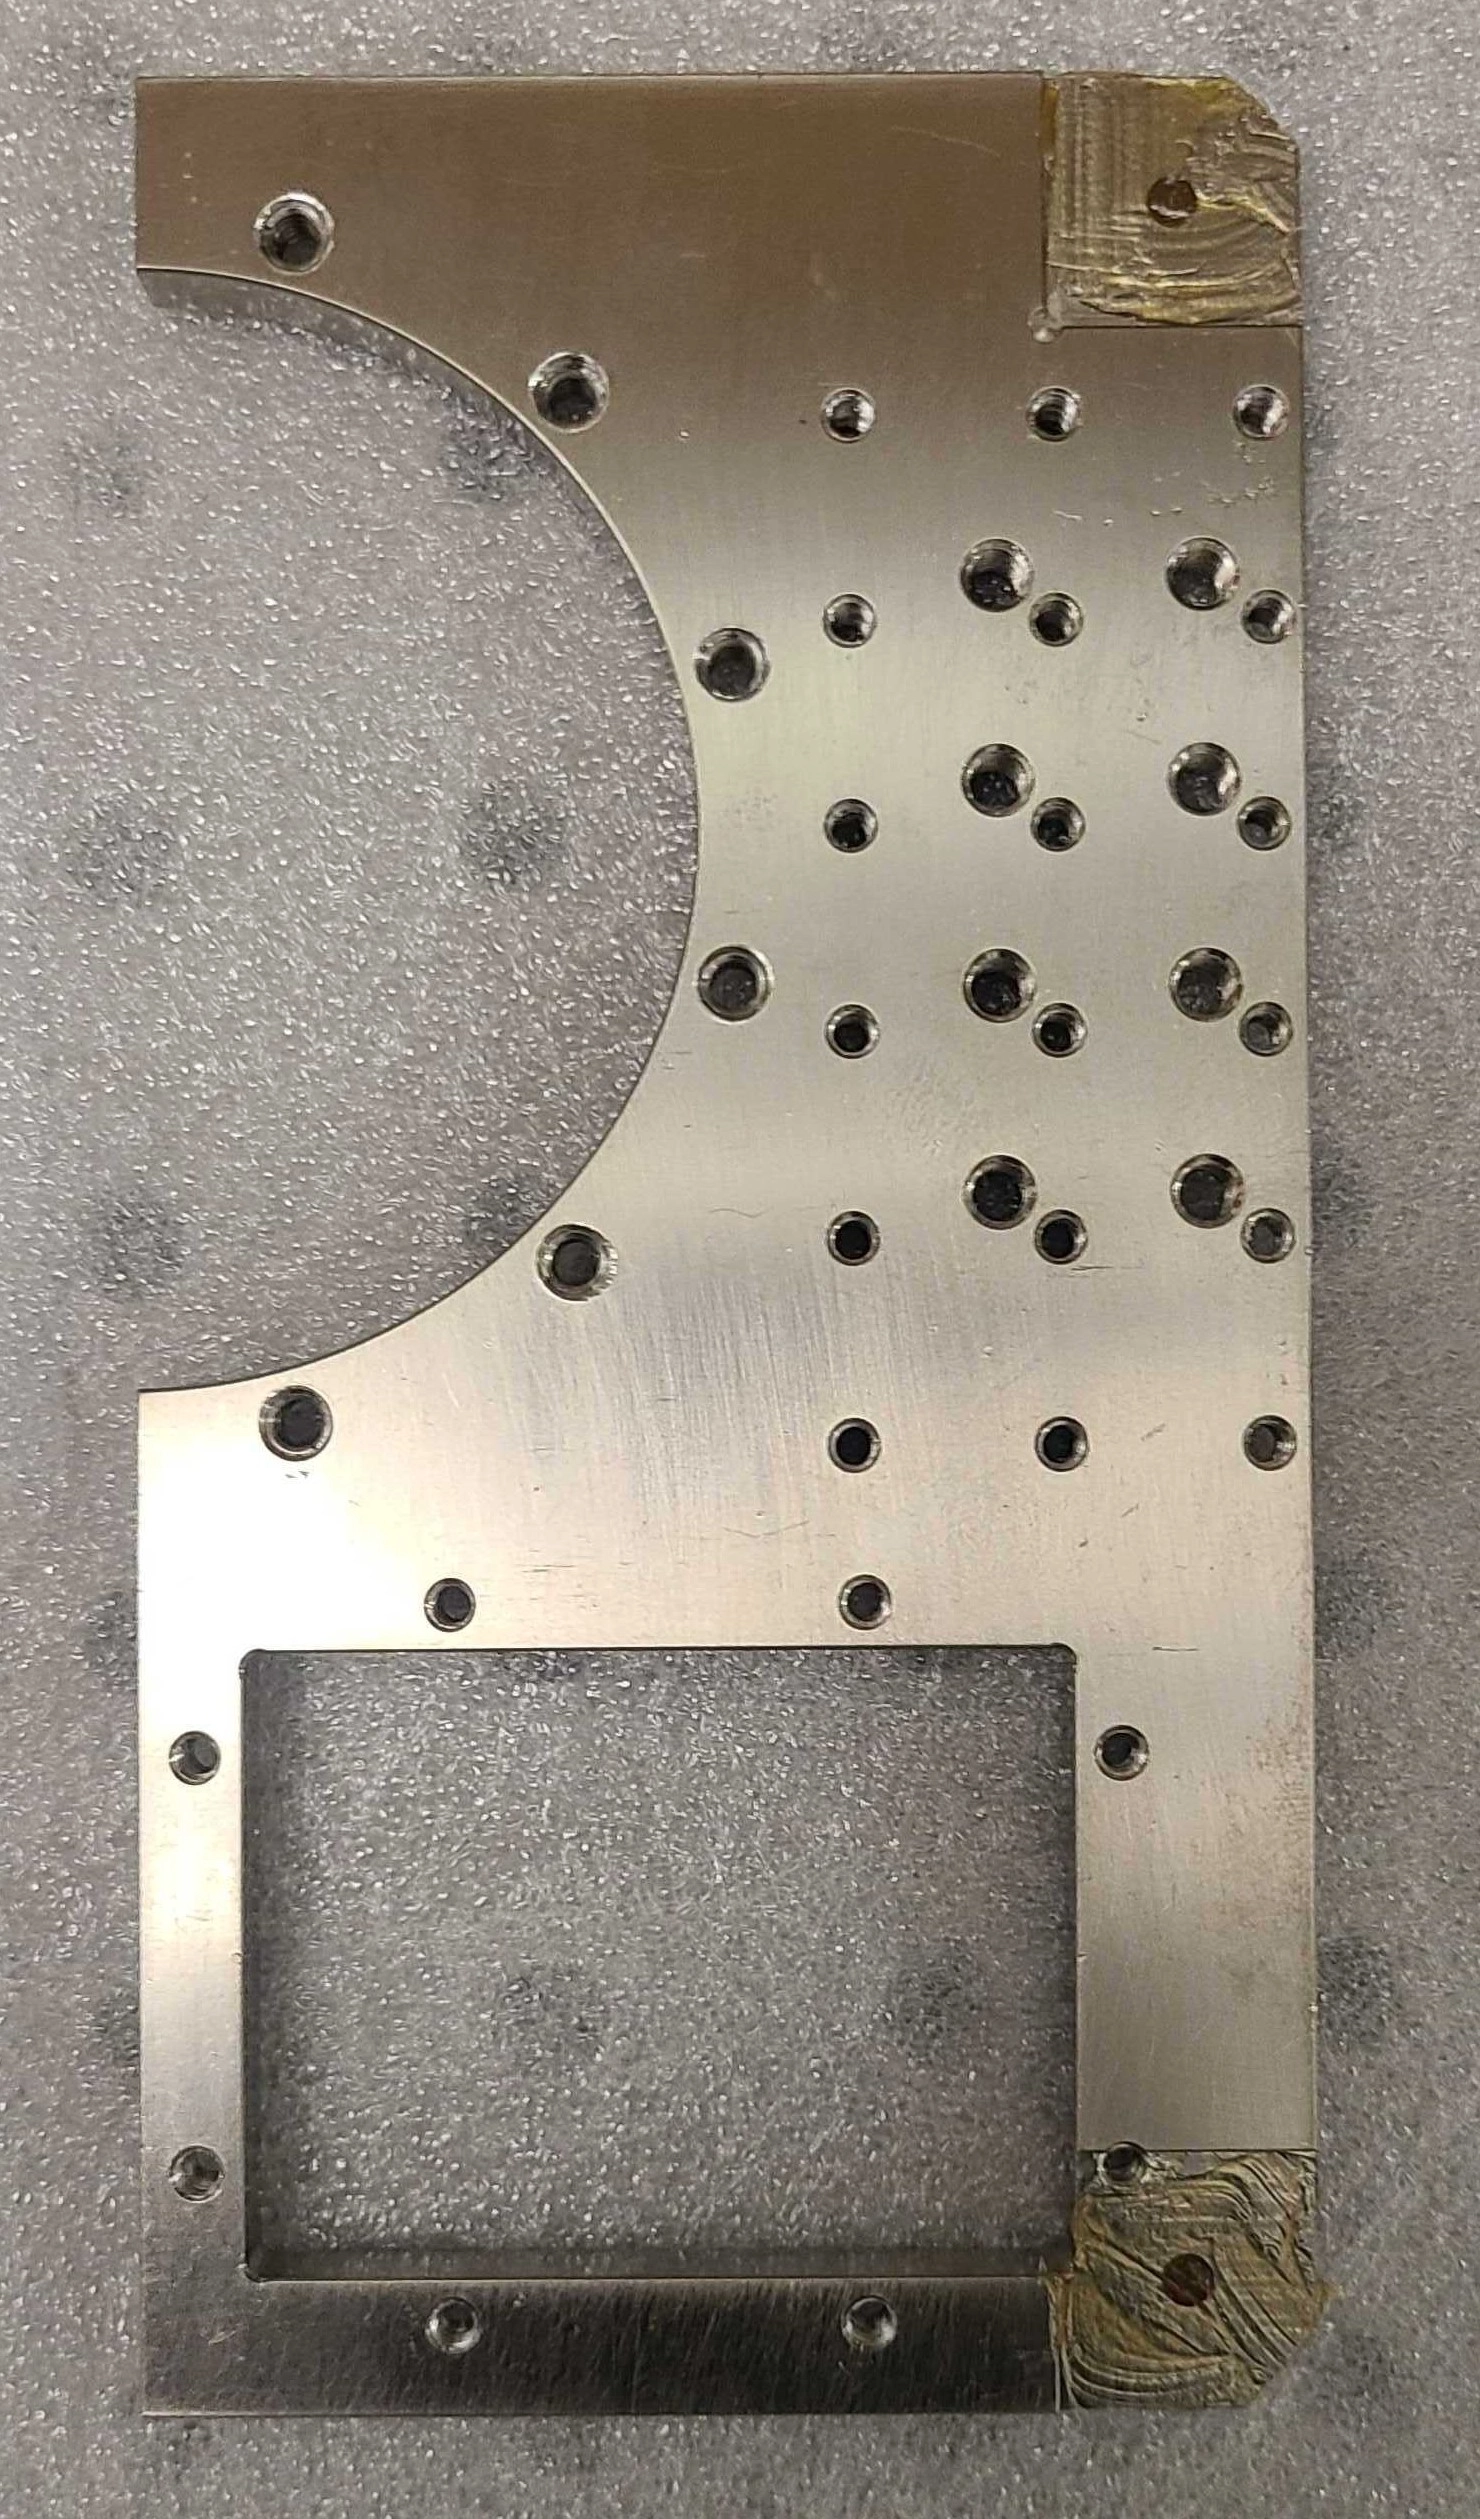
Next is mounting the 40K bar-stock to the bottom 40K plate. The hidden photos below will show the top and bottom orientation of the 40K bar stock and 40K plate.
Apply Apiezon N grease to the top corners of the 40K bottom plate where the 40K bar stock will sit.
Mount the 40K bar stock onto the greased position and screw a 4-40 5/16” length screw with a Belleville disc spring as seen below. Make sure the corner of the bar stock lines up with the corner of the 40K bottom plate
Repeat for all 40K bar stock
If building a 1K system, follow the 4K Box Assembly before moving to the step 10. If not do step 9.2-9.4.
Only perform steps 9.2-9.4 below if using a single 4K plate
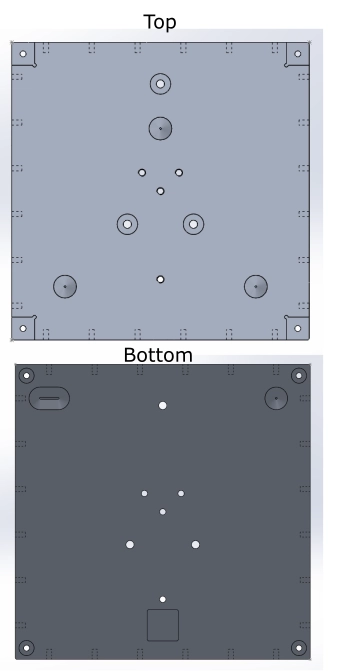
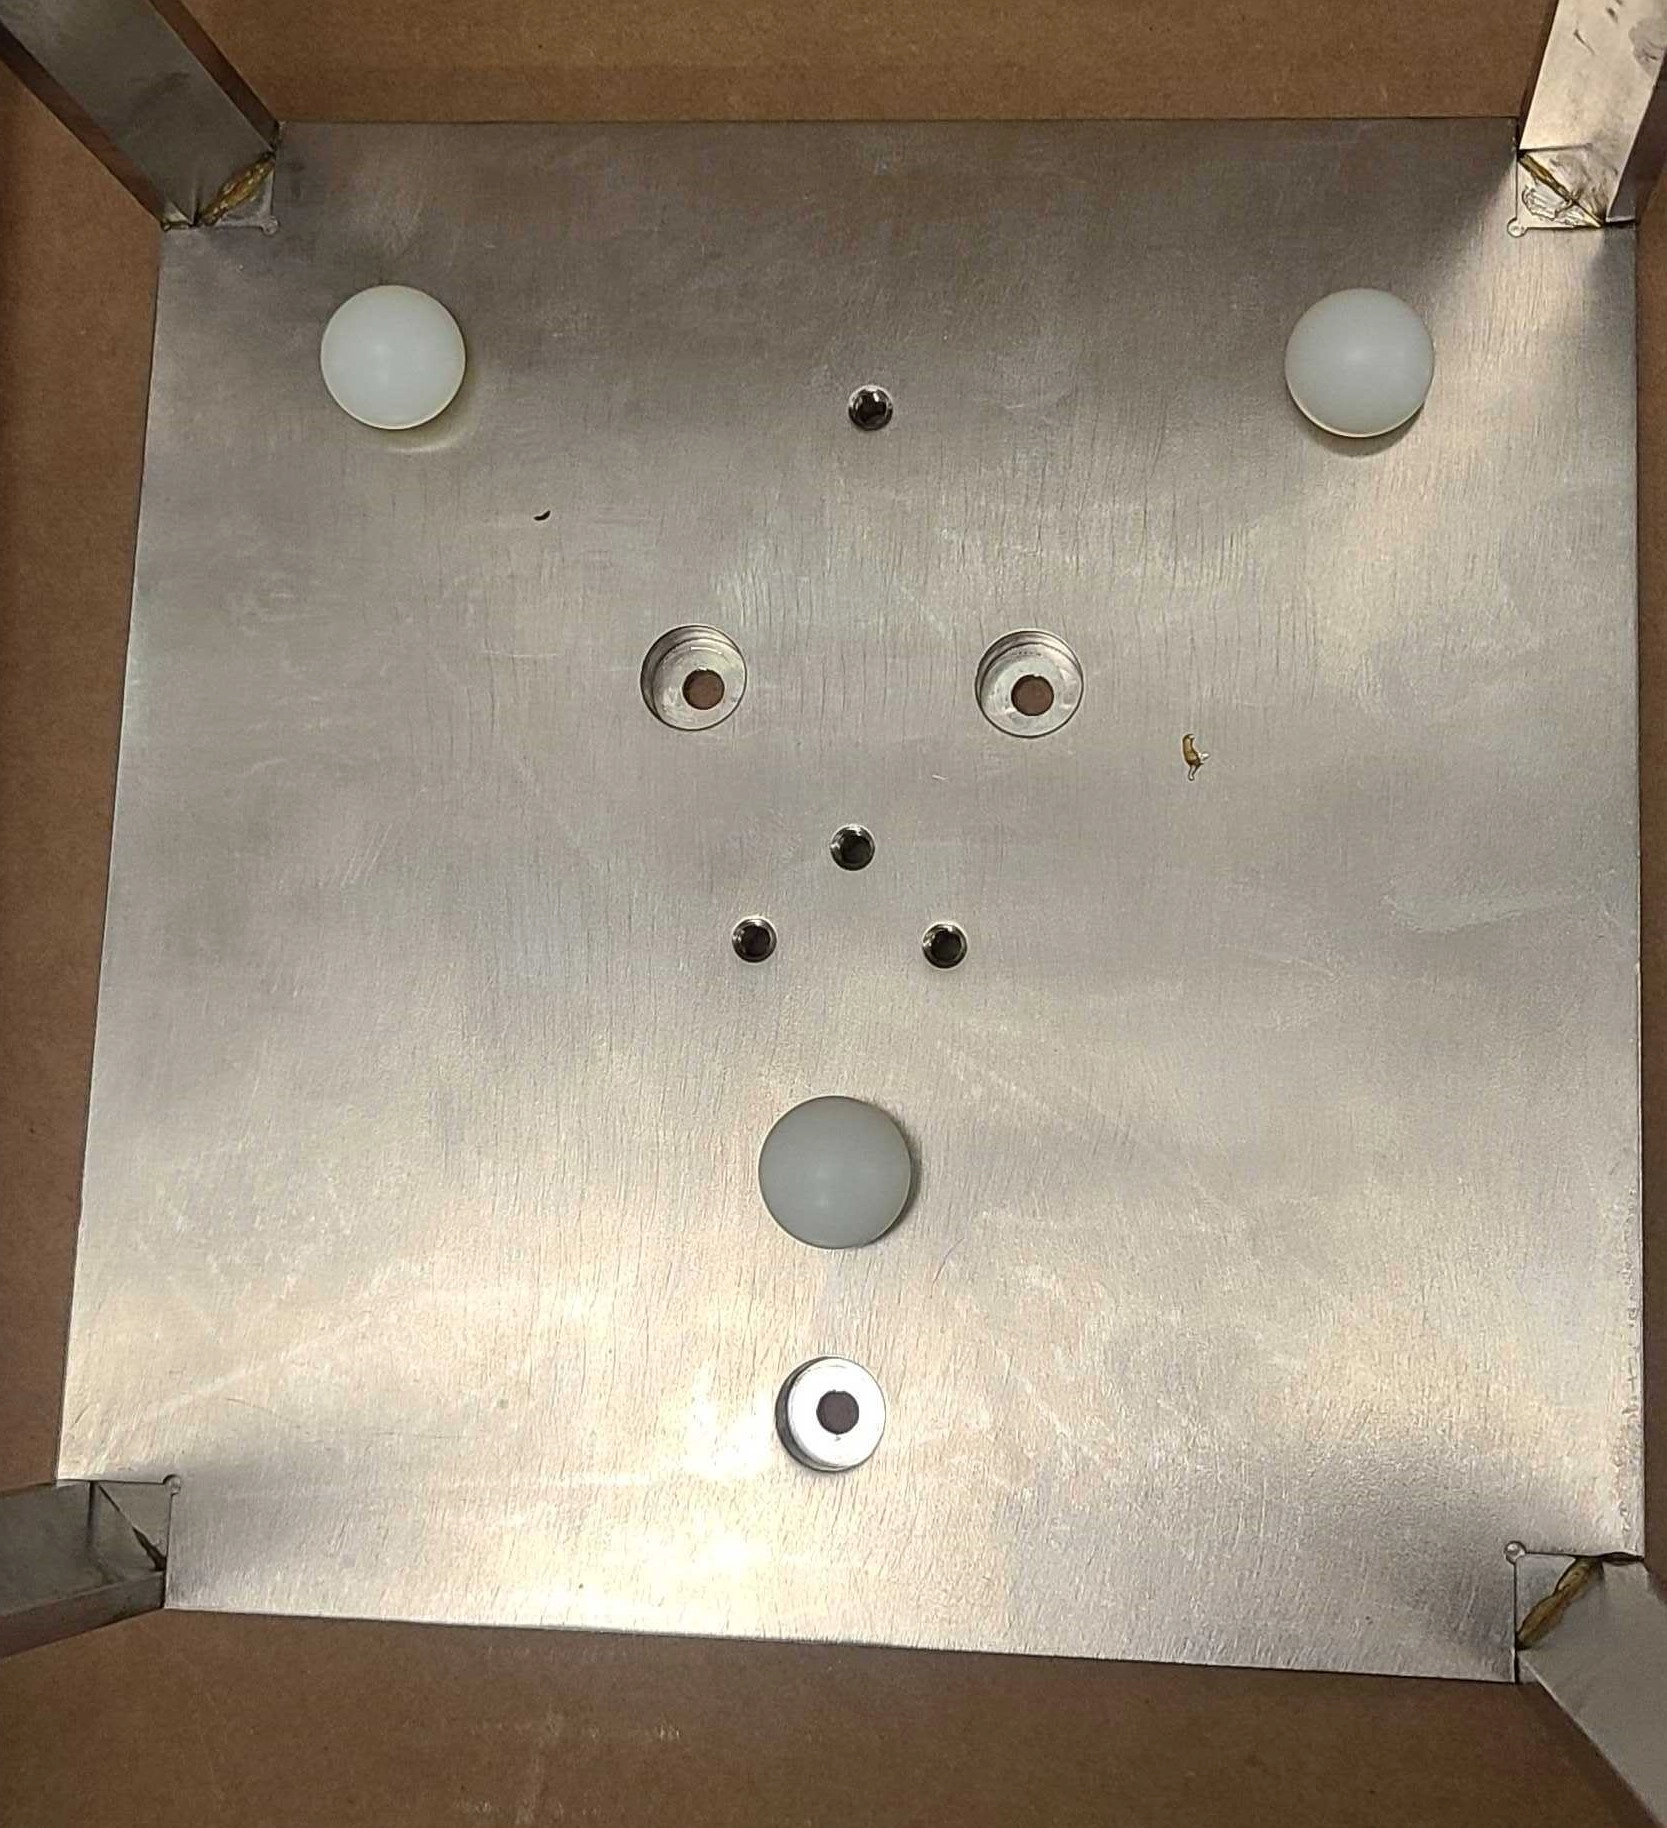
2. Place three nylon spheres onto the three top cone locations of the 40K plate
1. 40K with nylon spheres.webp
3. Place 4K plate onto the three spheres
1. FIXME insert photo of 4K box on 40K with spheres
4. Screw a PEEK screw with 5 x spring washers into the center hole of the 4K plate into the 40K plate. Screw until the head of the PEEK screw is just below the surface of the 4K plate.
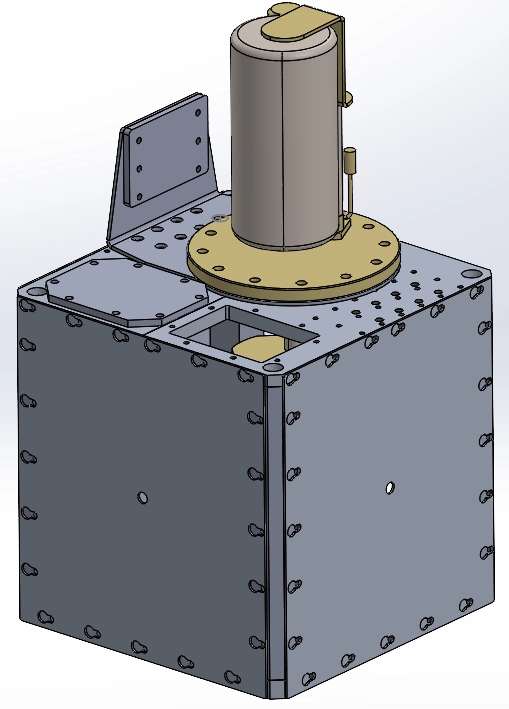
Now we mount the 40K box frame onto the blank IdealVac wall and cube we prepared earlier.
Mount the 4K plate or box onto the bottom 40K box.
Place three nylon spheres onto the three top cone locations of the 40K plate
Place the 4K box or 4K plate onto the three spheres, making sure the balls line up with the square, cone, and oblong cone.
Screw a PEEK screw with 5 x spring washers into the center hole of the 4K plate into the 40K plate. Screw until the head of the PEEK screw is just below the surface of the 4K plate.
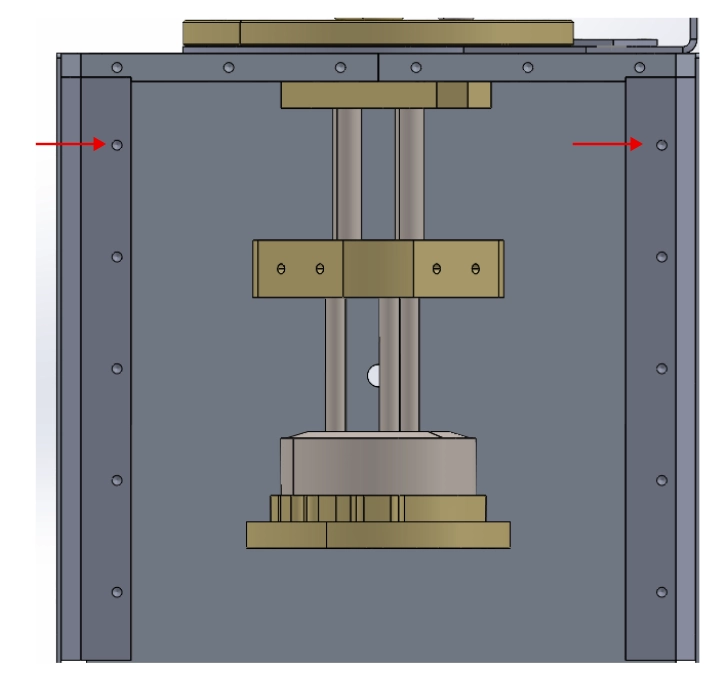
Mount the 4K bar stock onto the greased position and screw a 4-40 5/16” length screw with 2 x Belleville disc spring as seen below. The 4K bar stock must follow the orientation seen below. The holes must be orientated like the red arrows for the 4K walls to work.
Use Apiezon N grease on the bottom corners of the top 4K plates. See below for the top 4K plate orientation.
2. 4K top plate grease.webp
Mount the top 4K plates onto the bar stock. Keep in mind the direction of the top 4K plates. This will determine the orientation of the 1K cooler and ultimately where the 1K mounting plate faces. These will use a 4-40 5/16” length screw with 1 x Belleville disc spring washer in the blue counter sunk holes. There are 4 of these.
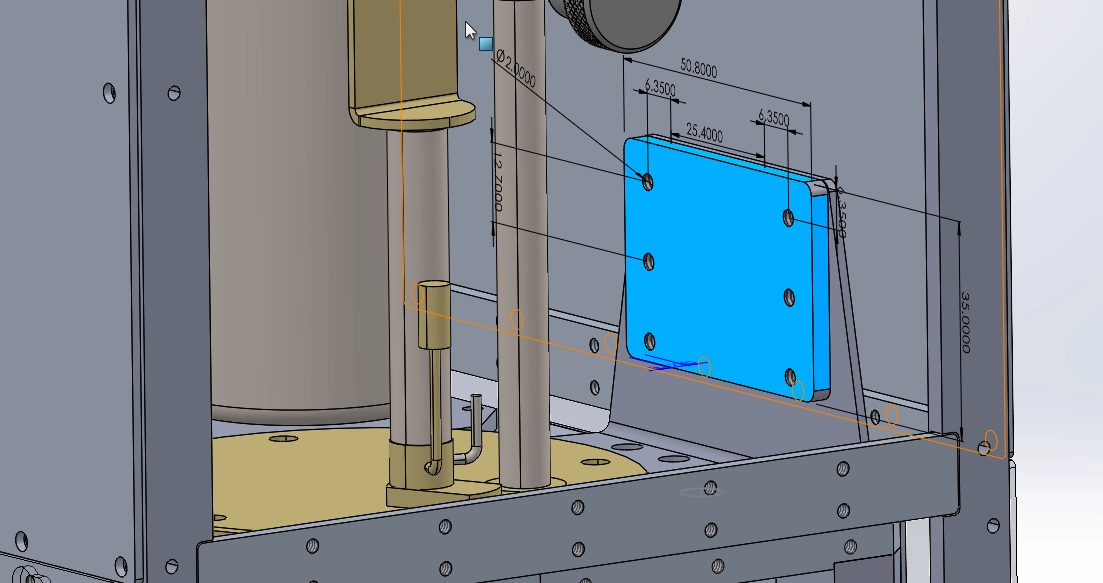
Screw in the feedthrough plates onto the top of the 4K plate. Each plate requires 8 4-40 5/16” screws.
Clean the copper 4K bend plate and put Apiezon N grease on the bottom side of the bend plate where it will mate with the 4K plate. The copper 4K bend plate will be placed on top of the 4K box and align it’s holes to the 1K 8-32 heilcoil mounting holes.
FIXME photo of grease on bottom of clamp
Put Apiezon N grease on top of the 4K bend plate where the 1K will sit
FIXME photo of grease on top of clamp on 4K box
Insert the 1K stage onto the copper 4K bend plate. If using a directional 1K stage, mount it and adjust the orientation of the 1K cooler.
FIXME photo of 1K stage onto 4K box
Begin threading screws into the stage but do not fully tighten. Once there are 12 screws some what threaded, follow a star pattern seen in the photo below for fully tightening.
FIXME photo of 6-32 screw with spring washer
FIXME photo of screw star pattern
Clean the stainless steel clamping plate and mount it onto the 4K copper bend plate. See the image below for the SS clamp plate.
